For today's latest in Tips & Tricks, we're excited to share a first hand DIY project from Jana Bek, whom you have met before as well as from Jana Bek Design. Jana moved about a year ago and reached out to Gray about ordering a large print for their new home. Naturally the answer was yes, and then we learned that she wanted to do her own customized framing to it...to which we said, "We want to see!" Jana..we'll let you take it from here.
> "I’ve always wanted an oversized Gray Malin piece, so when designing our new Atlanta apartment I knew it was time to turn that dream into a reality. Gray’s photographs give you the feeling you’re on vacation in your own home & with our newest piece, I’m able to wake up in St. Tropez everyday! I knew an acrylic frame with brass stand-offs would be the perfect way to showcase our new eye candy. I’ve DIY’d one before so I was confident in the process & I’m delighted to share the steps with you today. It’s an easy project and a very affordable way to frame large scale artwork. I hope you’ll try it with your newest Gray Malin addition!"

**Materials and Tools:**
- 2 sheets of Acrylic _See ‘step 1 below’ for ordering instructions._
- 8 Large stand-offs,Highland Hardware is my go-to for gorgeous stand-offs.
- 3/4″ x 8″ metal stake (available in hardware stores in the nail aisle)
- Vice Grips
- Ruler & and pen
- Butter knife
- Acid free photo framing tabs or tape
**Step 2**
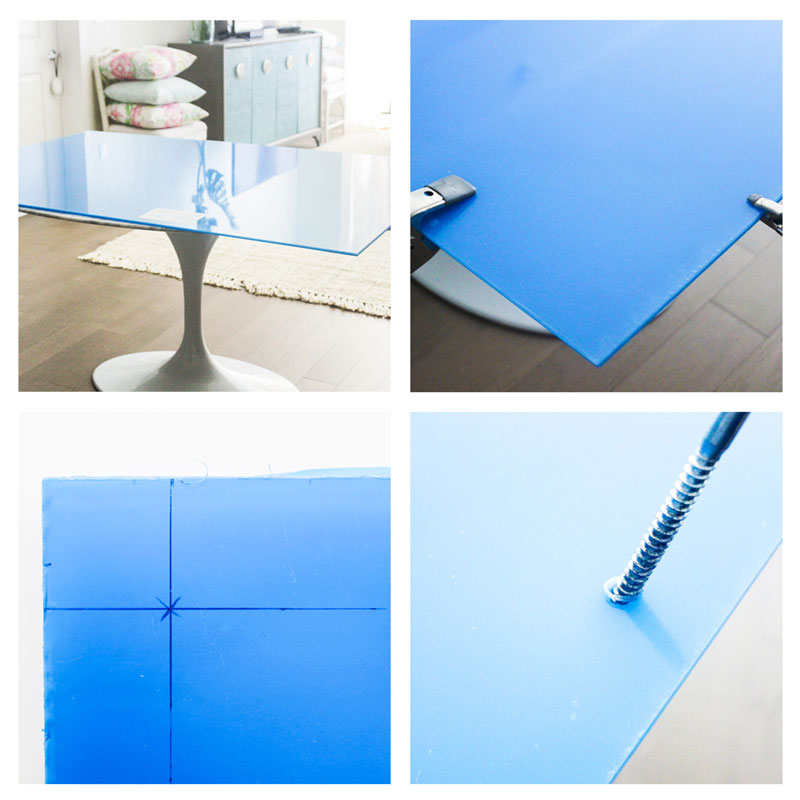
Keeping the protective film on the acrylic, place your acrylic sheets one on top of another. Secure them in place with vice grips to keep the acrylic in place. Step 3 Measure off your border and where you’ll “punch” your holes for your stand-offs. As my St. Tropez Light Blue Beach Chairswas 37” x 55”, I followed my five inch rule so my acrylic was cut to 42” x 60”. I marked my holes so the standoffs would be 1-½”from the outer edge of theacrylic and, in turn, 1”between the standoff and the art.

**Step 4**
Heat up your metal stake on your stove top, you want it to be hot. Due to apartment living it took quite long on our gas stove (about 5 minutes). Be sure to wear an oven mitt when picking up the stake.
**Step 5**
Punch your first hole through.Repeat **Steps 4 and 5** until you have all of your holes for your stand-offs punched out.
**Step 6**
After the holes have cooled, take a butter knife to pop off the melted acrylic. The swifter the motion the better!
bb
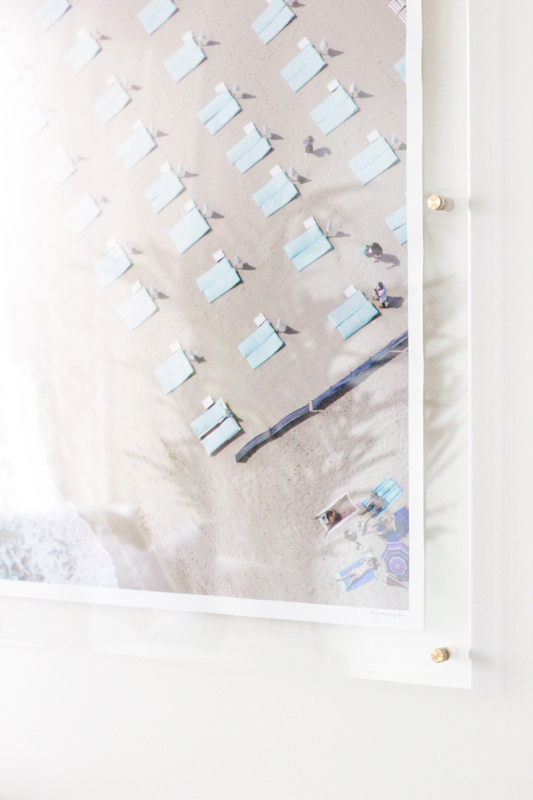
Remove the inner layers of protective plastic from the acrylic sheeting, and place your artwork in the frame.Secure your artwork in place by using the acid-free photo tabs or tape Step 8 Peel back the outer protective plastic layers from the acrylic, and fasten your stand offs in place.
**Step 9**
Follow the mounting instructions that come with the stand offs to hang your artwork.
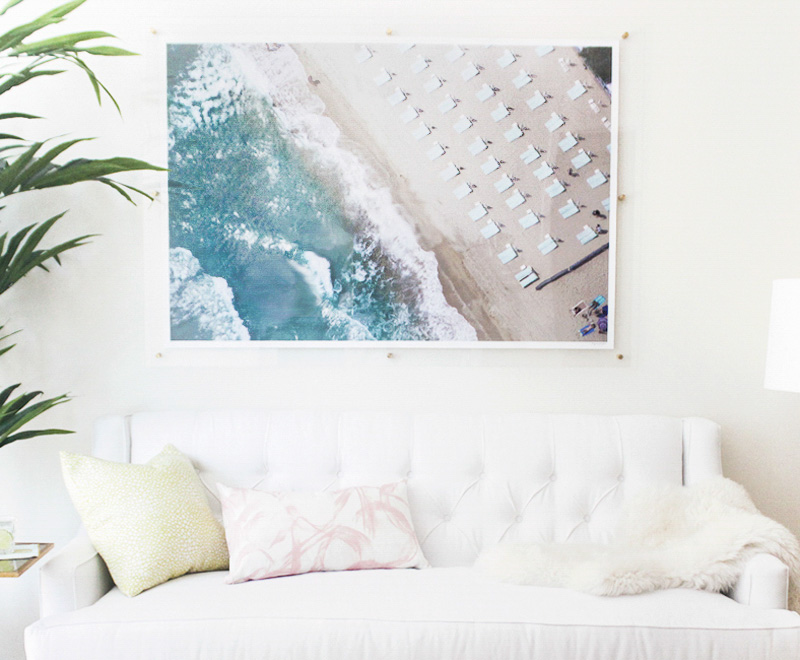
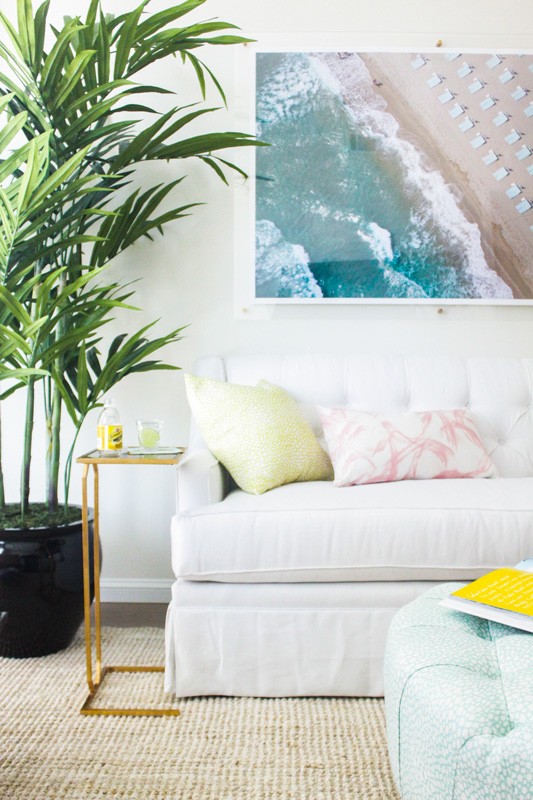
Then, take a take a look at the gorgeous result!


Thanks Jana! And, may we just say, BRAVO! The results are well worth the effort, don't you agree? We hope you all enjoyed Jana's take on DIYframing with acrylic; it's definitely at the top of the "Need to Try" list!
Cheers
Team GM


