Because no two gallery walls are the same, there are lots of ways to tackle the task of building your dream gallery wall. So let’s start with the basics…
## Choose A Spot
**
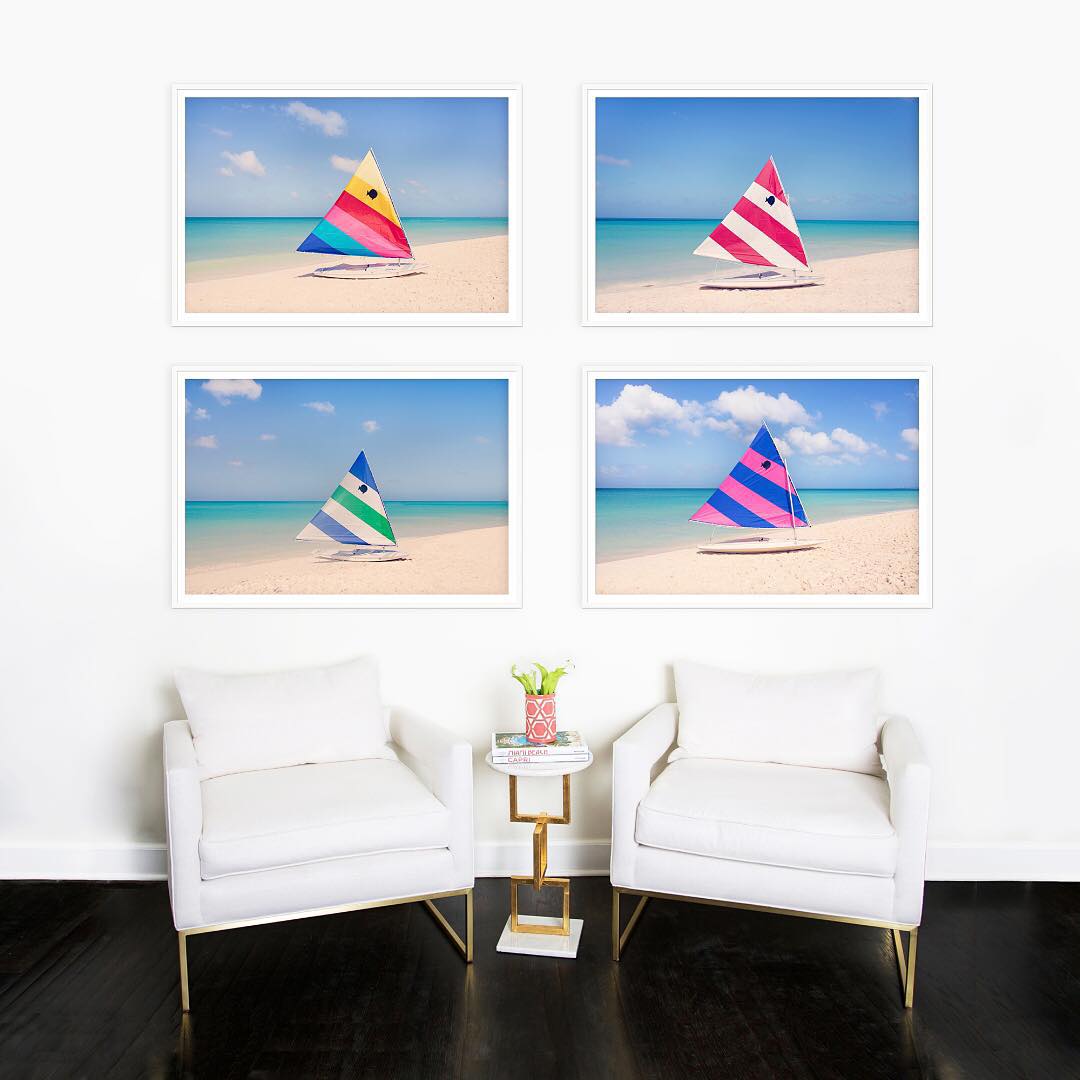 **
**First things first, you’ll need to figure out where this gorgeous gallery wall will live. Once you’ve got the perfect spot in mind, you can then figure out a theme. What are the colors in the room? What’s the vibe of the décor? Do you want prints that all tell a similar story (like the wall above), or are you into more of an eclectic vibe? Answer all of those questions before you start on your gallery wall project, and you’ll be well prepared to put together the perfect cluster of artwork.
## Pick Your Prints
**
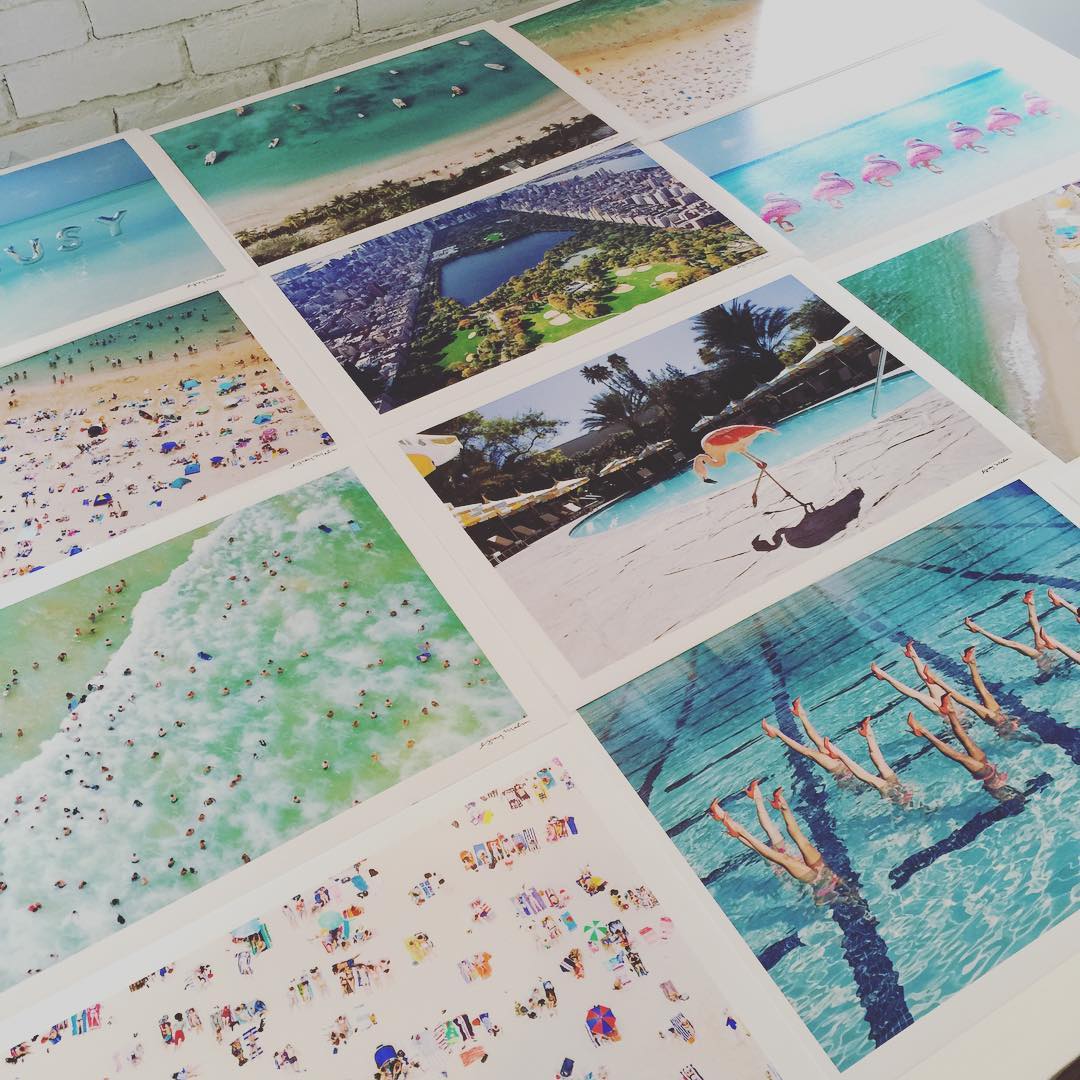 **
**Next up, you’ll need to decide which photos to feature in the wall. This will depend heavily on the existing décor and vibe of the space, as well as your own personal taste. We really can’t emphasize enough that gallery walls are not an exact science. What makes each one beautiful is that they are a collection of images or objects that speak to YOU. And because of that, gallery walls are an extremely creative and personal endeavor. Choose prints (or objects like mirrors, shadowboxes, plates or trinkets) that bring you a feeling of joy and happiness when you look at them. After all, the point of a gallery wall is to pair together pieces that will make you happy every time you look at it. And while this process is different for every individual, we do have a couple of helpful tips to steer you in the right direction. First, we recommend choosing artwork that has a similar color palette to the room where it will live. If you have pops of pink in your throw pillows on your couch, choose a few prints that include a similar shade. It’s an amazing way to tie marry your artwork with your existing décor. Also, we love gallery walls that tell a story. Whether that means choosing images that were taken in the same spot, or prints or paintings that have a similar look and feel, it’s one way to turn a handful of art pieces into a larger installation. As long as you choose pieces that you love, it’s hard to go wrong.
## Find Your Frames
**
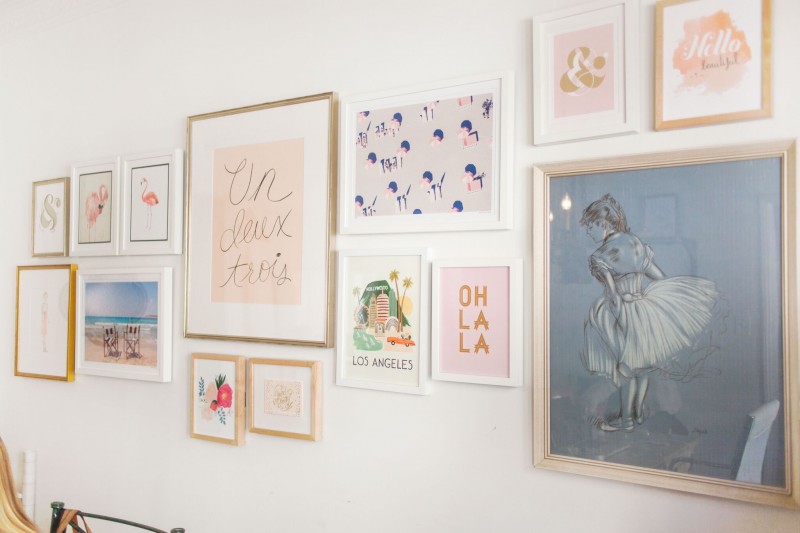 **
**When putting your gallery wall together, there are two routes that you can take. The first is to choose matching frames, which creates a polished, modern and clean look. But if you have a more eclectic or vintage vibe, it can be fun to opt for all different kinds of frames, like the gallery wall above. Ideally, your frames should all stay within the same décor genre (unless you’re looking for something really bold!). It truly depends on what look you’re going for, and what your personal taste is. As we’ve said before, your gallery wall should reflect you and what you love, so choose whichever frames speak to you and best accentuate your artwork.
## Lay It Out
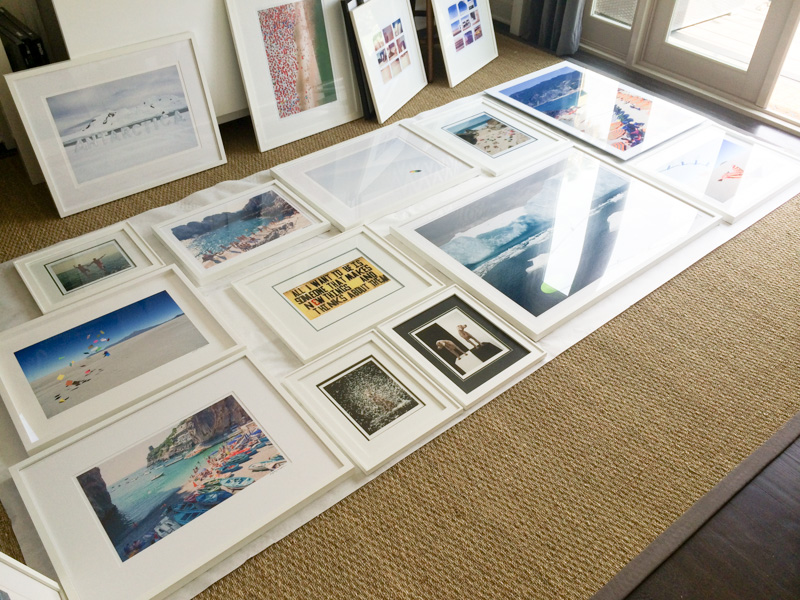
It’s always a good idea to create the layout for your gallery wall before you hang it up. You’ll want to lay out all of your pieces on the floor beneath the wall where you plan to hang them, and create a layout that you love. You can go symmetrical, build the layout around one or two focal pieces, or put your pieces into a different kind of formation. As long as you love it and it flows well, it will work.
## Put It Up
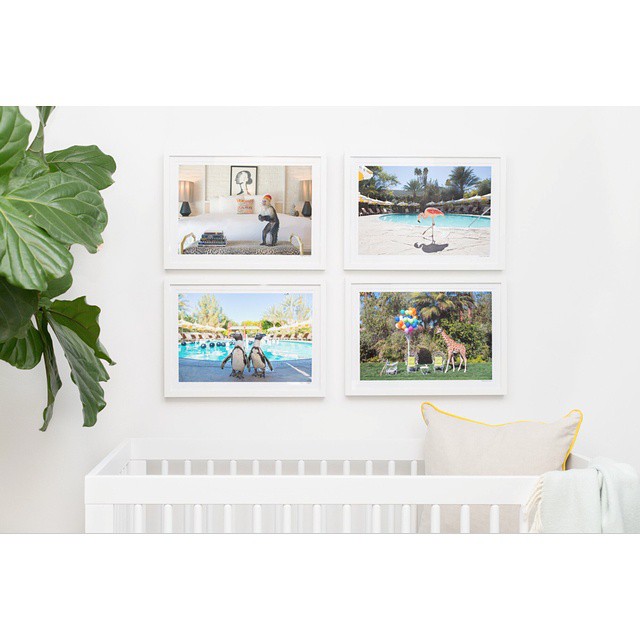
And now it’s time for the final step… hanging your gallery wall! As with all of the other steps in this process, there is more than one way to do it. You can eyeball it, or if you want the spacing to be super precise, make sure to get out that measuring tape. One other trick is to trace all of the prints onto a piece of butcher paper when they’re laid out on the ground. Once the prints are traced and labeled, you’ll want to check the hardware on the back of each frame and make a mark so you can place your nail in the exact spot. Tape the paper to your wall (make sure it’s level), and hammer your nails into the spots on the paper that you marked. Then, start hanging your prints! At the end, slowly pull the paper from behind the prints until it’s all removed from the wall. Make sure to use a level on each print, and voila! All done. And for an added dose of gallery walls inspiration, here are a handful of our all-time favorites:
**
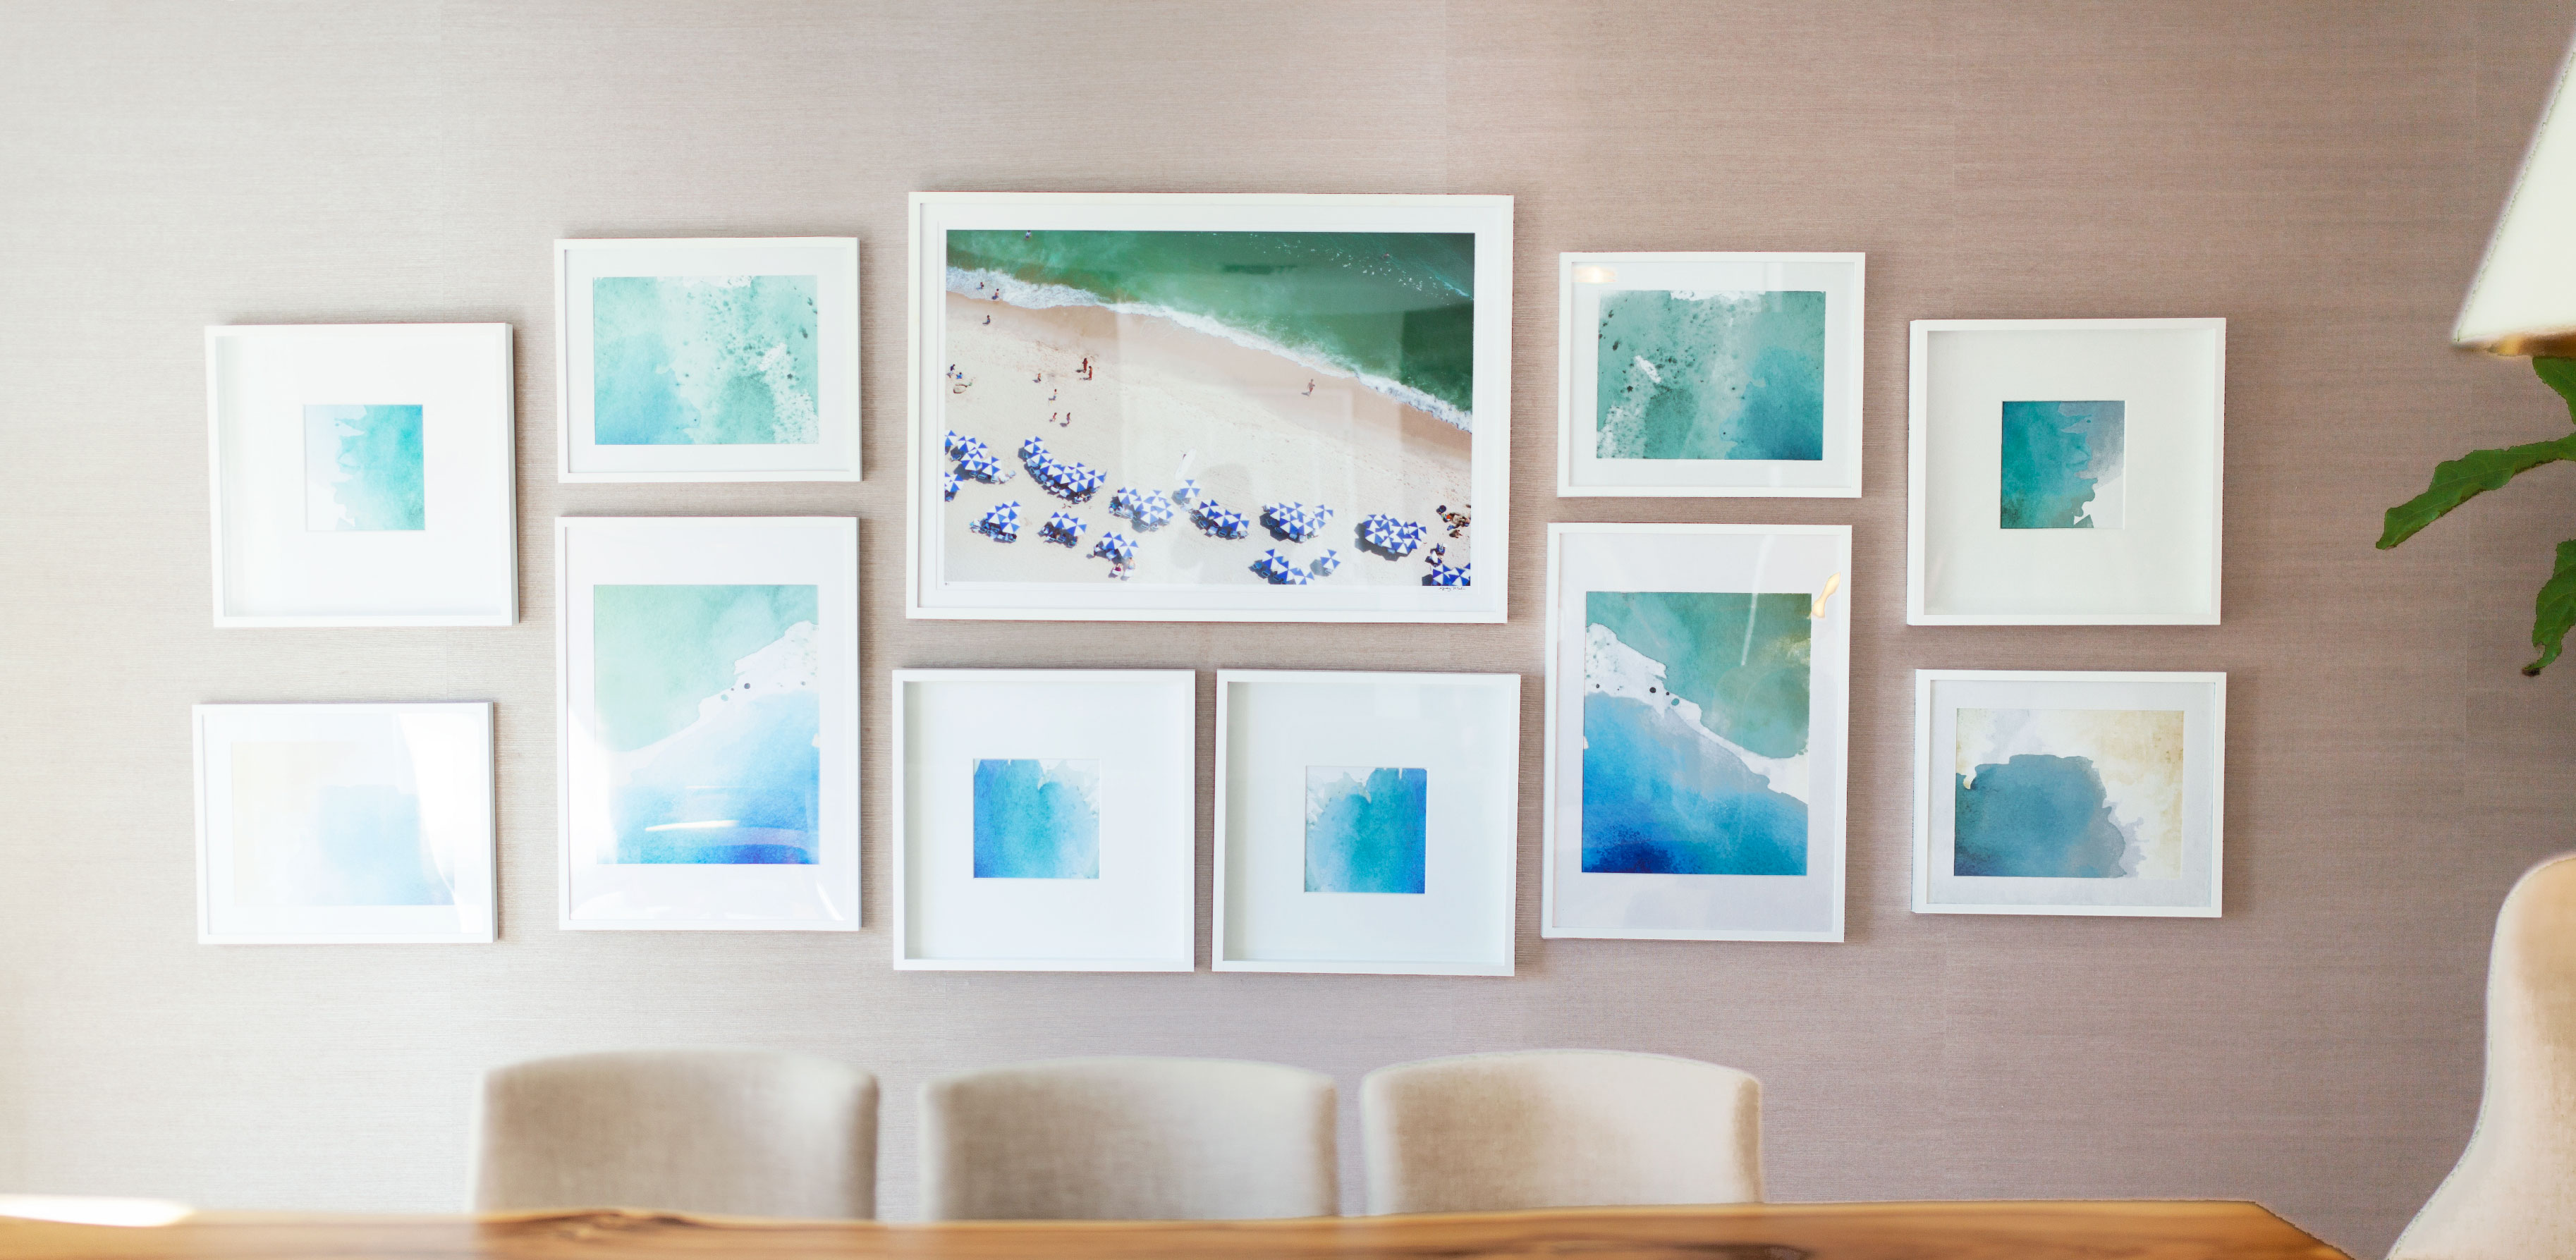 **
****Lauren Scruggs Kennedy’s Home**Featuring: Hamptons Blue and White Umbrellas
**
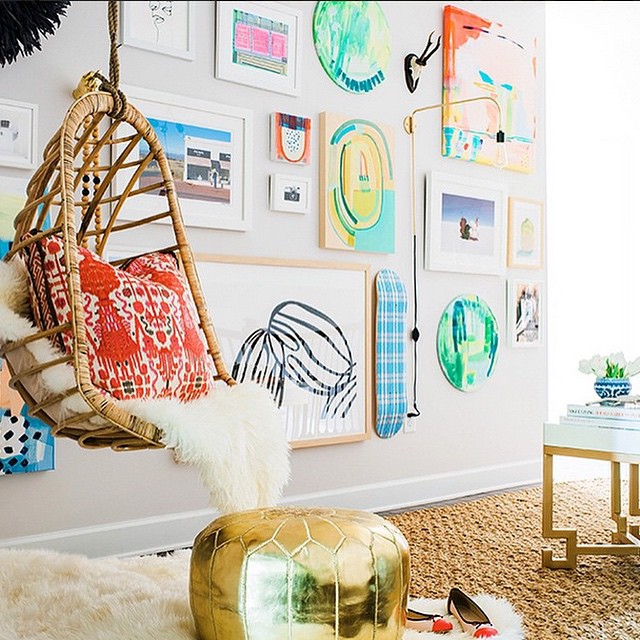 **
****Mandy Kellog Rye’s Home**Featuring: Prada Marfa
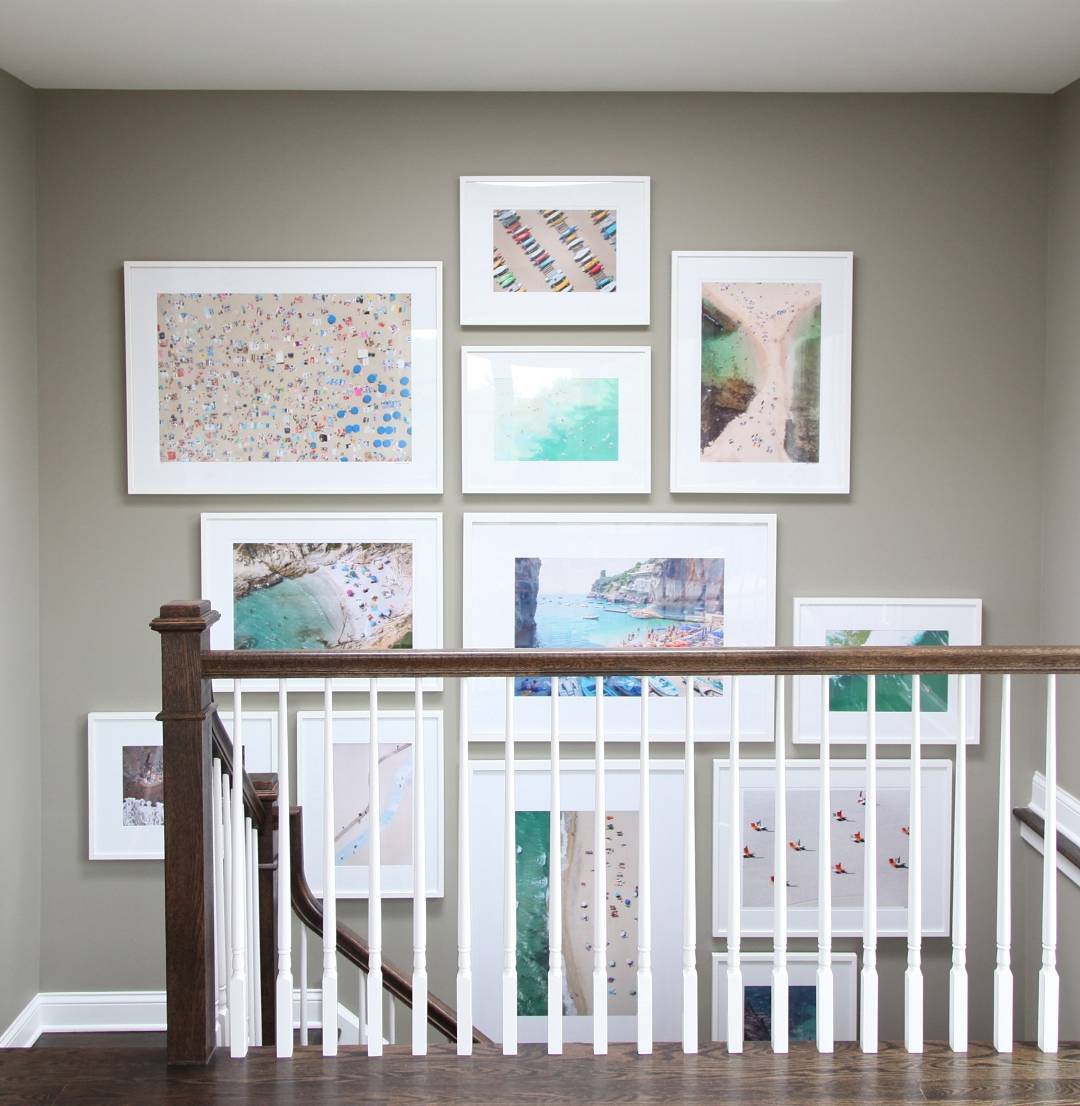
**Gabriel Fontes de Faria’s Home**Featuring:A la Plage&La Dolce Vita
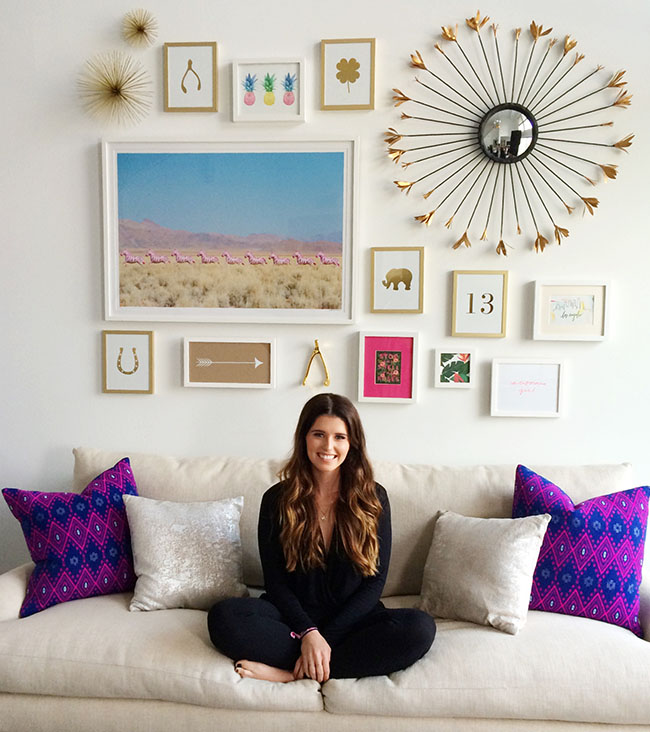
**Katherine Schwarzenneger’s Home**Featuring: Hot Pink Zebras
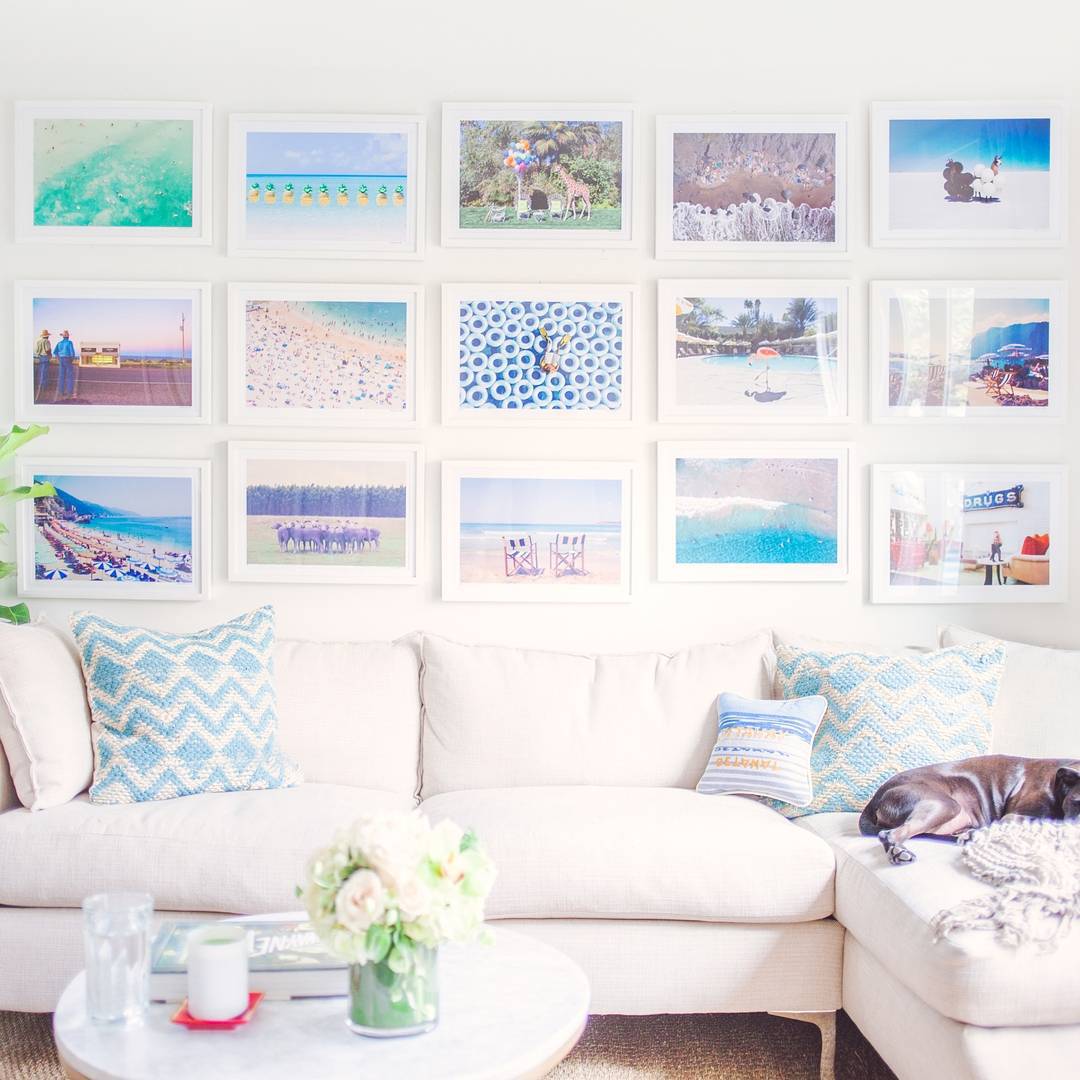
**Gray Malin’s Home** Featuring: Gray Malin at the Parker andPoolsideto name a few..
If you have a gallery wall that you think we’d love, share a photo on Instagram with #GrayMalin. You just might inspire our next gallery wall… to name a few
Xx Team GM
Photos: Gray Malin, Waiting on Martha, Lulu & Georgia


