
With Easter coming up this weekend, our gears have been turning as we think up ways to celebrate the holiday and put our own spin on classic Easter traditions (hello, egg decorating!). This year, we decided to skip the dye and opt for a little acrylic paint project instead. Per usual, we took some inspiration from one of our favorite GM prints… specifically, one of our favorites from the Up and Away series.
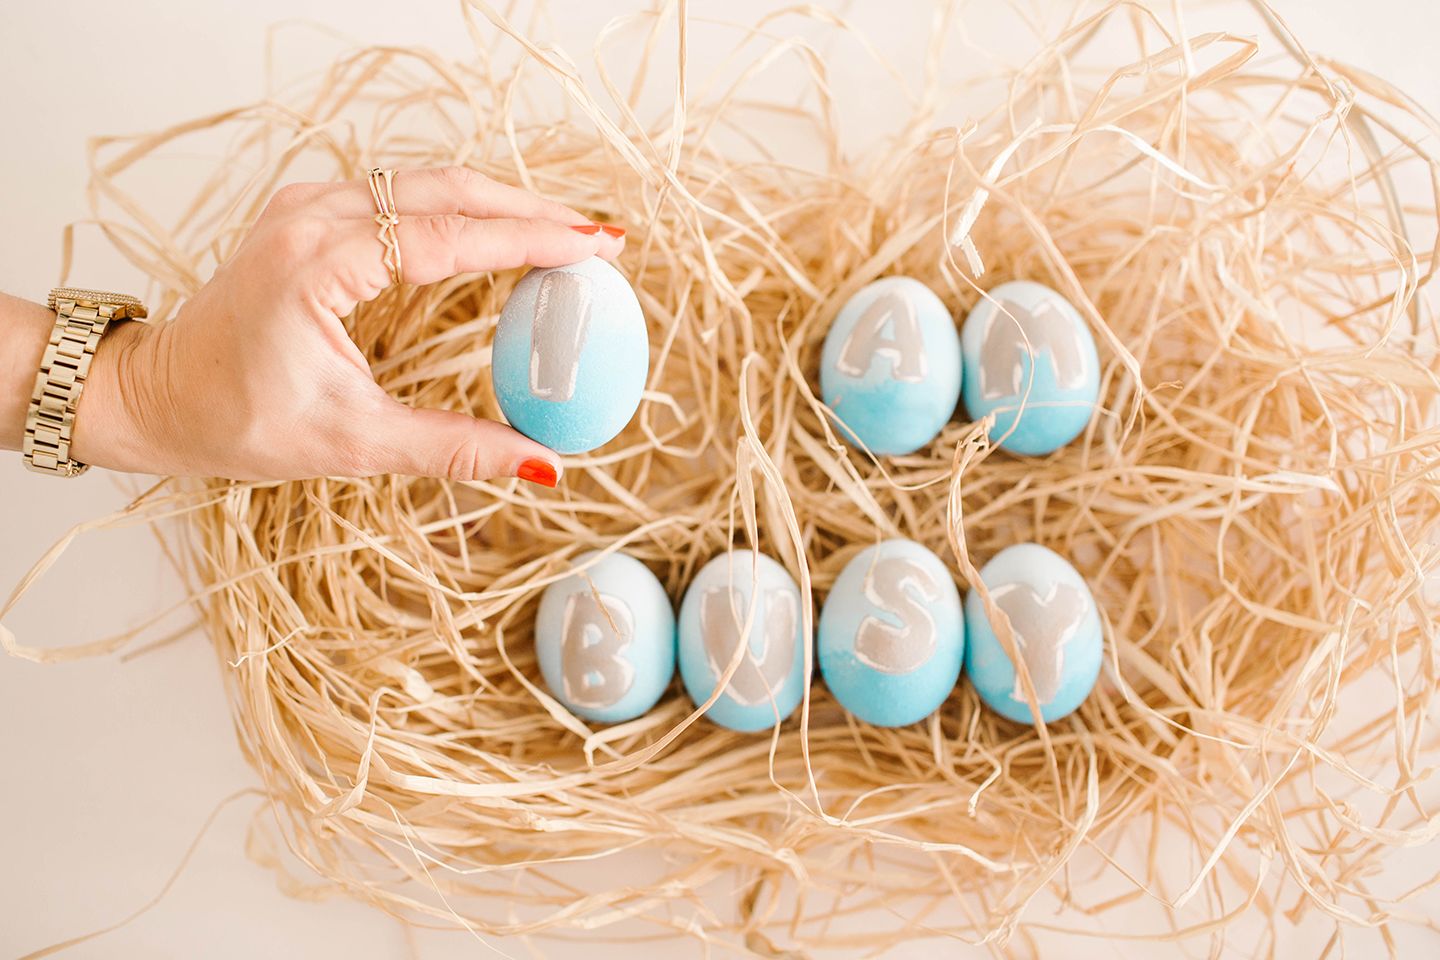
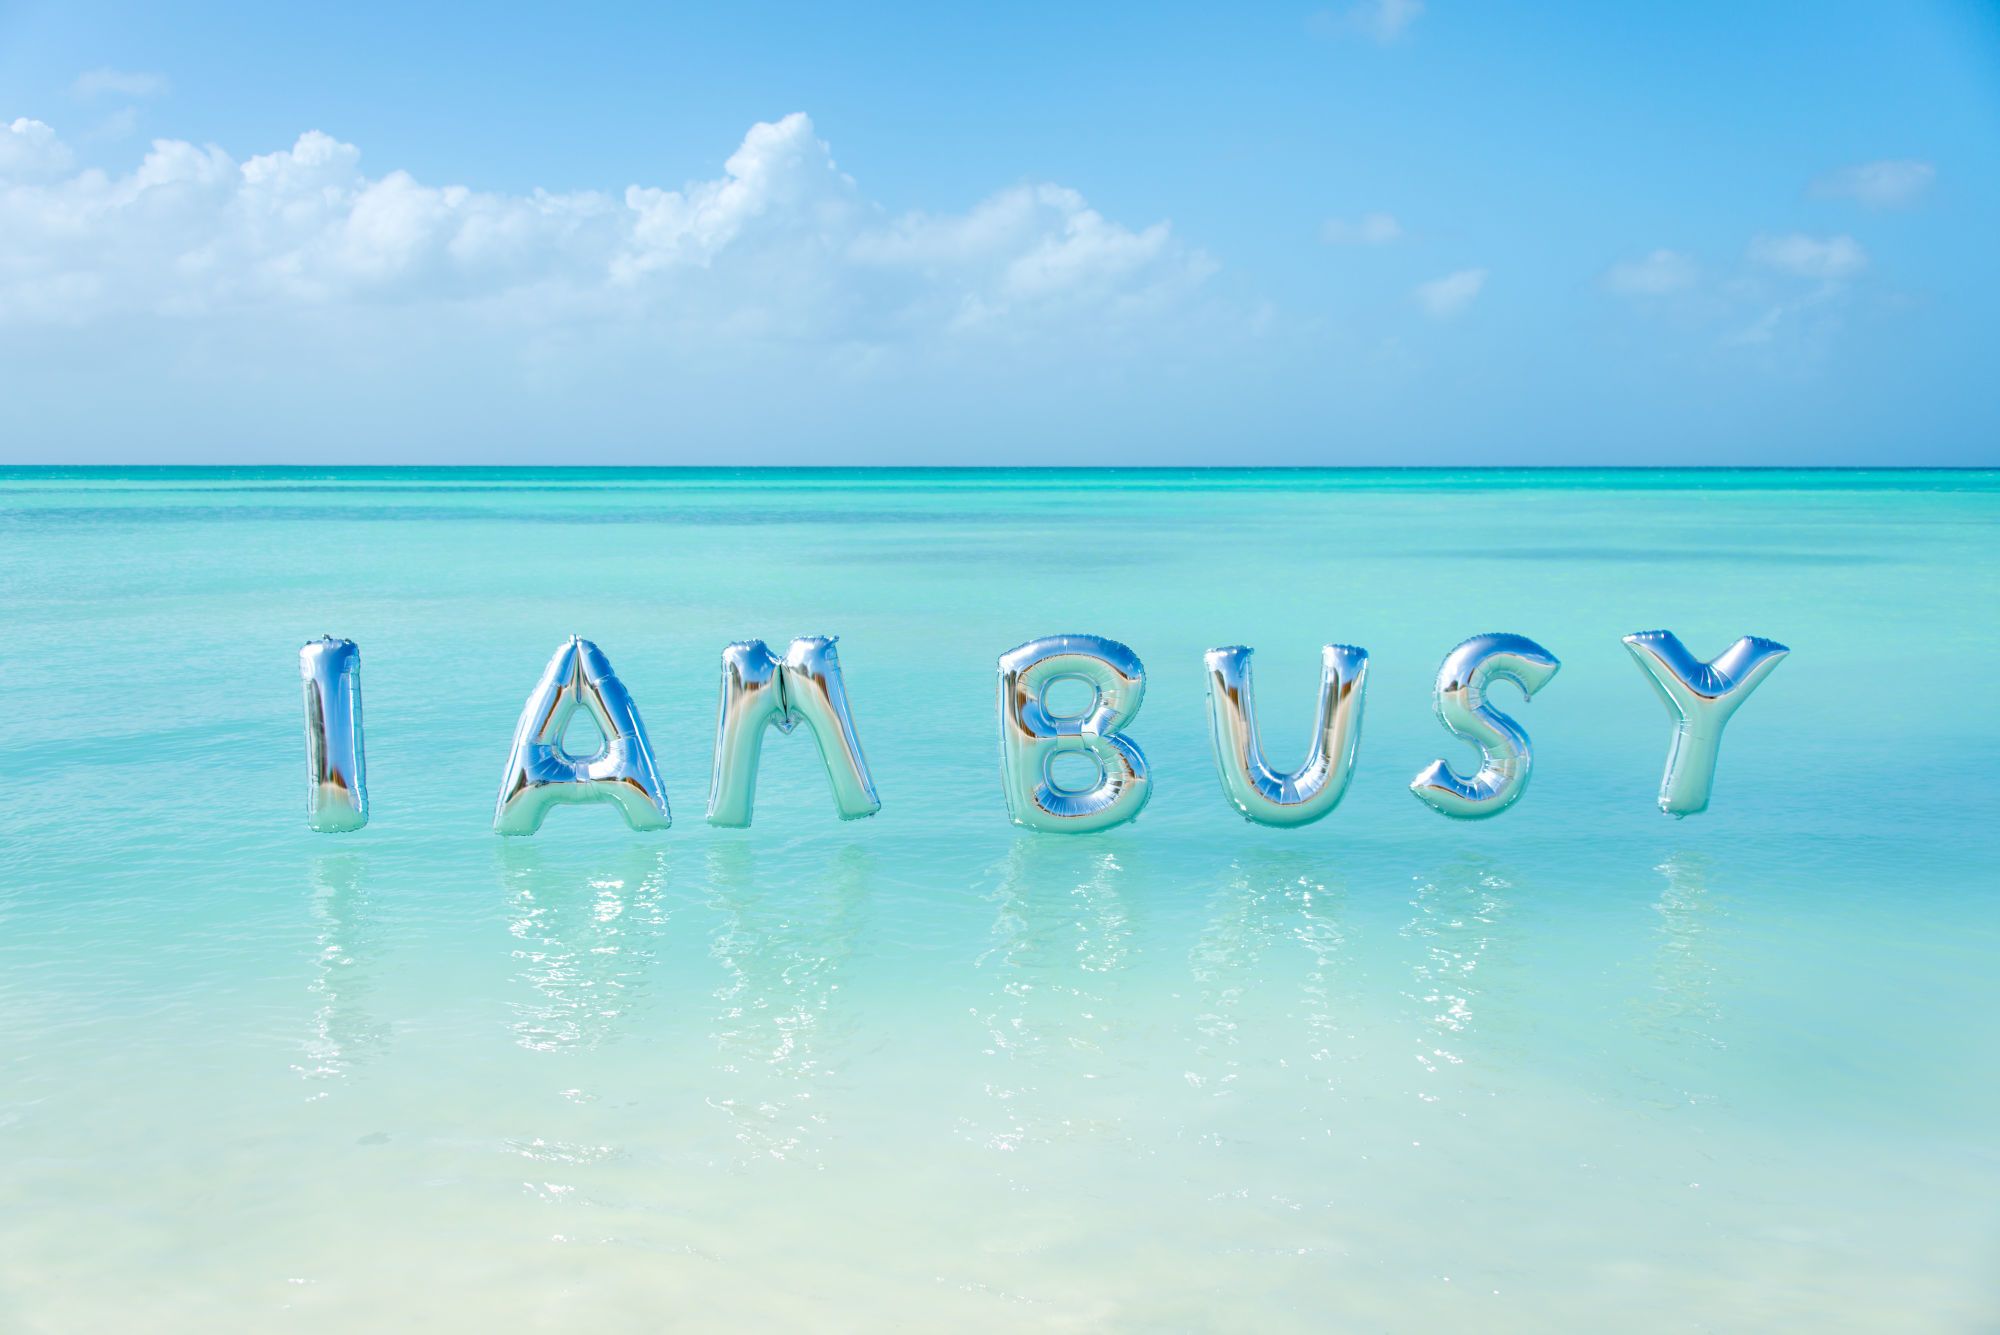 We decided to add a little Mylar balloon touch to our Easter eggs, and spelled out our daily motto: “I Am Busy.” We love how these little eggs turned out, and know they will make for the perfect holiday centerpiece in our homes this weekend. Plus, who doesn’t love an afternoon activity involving hard-boiled eggs and hands covered in paint? Keep reading to see how we pulled this little project together, and how you can recreate the look at home… Enjoy!

Supplies You’ll Need
- 7 (or more) large white eggs, hardboiled
- 3 shades of acrylic blue paint (light blue, middle blue, and dark blue)
- we chose to use turquoise hues to better mimic this light blue water
- white acrylic paint
- silver or light grey acrylic paint
- small, synthetic paint brushes (one squared off small brush, and one detail brush)
- round sponge brush or clean makeup sponge
- craft luster dust or fine glitter (optional)
The How-To
For the ombré background:
- Start by dipping your round tip sponge brush in your middle blue colored paint. Using a stippling or dabbing motion, apply the middle blue color in a stripe around the center section of each egg. Tip: Don’t make the edges too perfect! Leave the edges of your paint soft so you can better blend it with your other blue paints in the following steps.
- After the first layer of paint has dried on each egg, move on to your next blue hue and repeat step one. Using your darkest blue, paint the bottom of each egg and blend into the center stripe you previously painted. Let dry.
- Repeat the blending motions with your last blue hue (the lightest blue color), just above the middle blue stripe you painted in step one. Finish off the top of each egg with a dab of white paint, gently blending into the blue below it.
- Make sure your ombré has completely dried before moving onto the balloon letters.

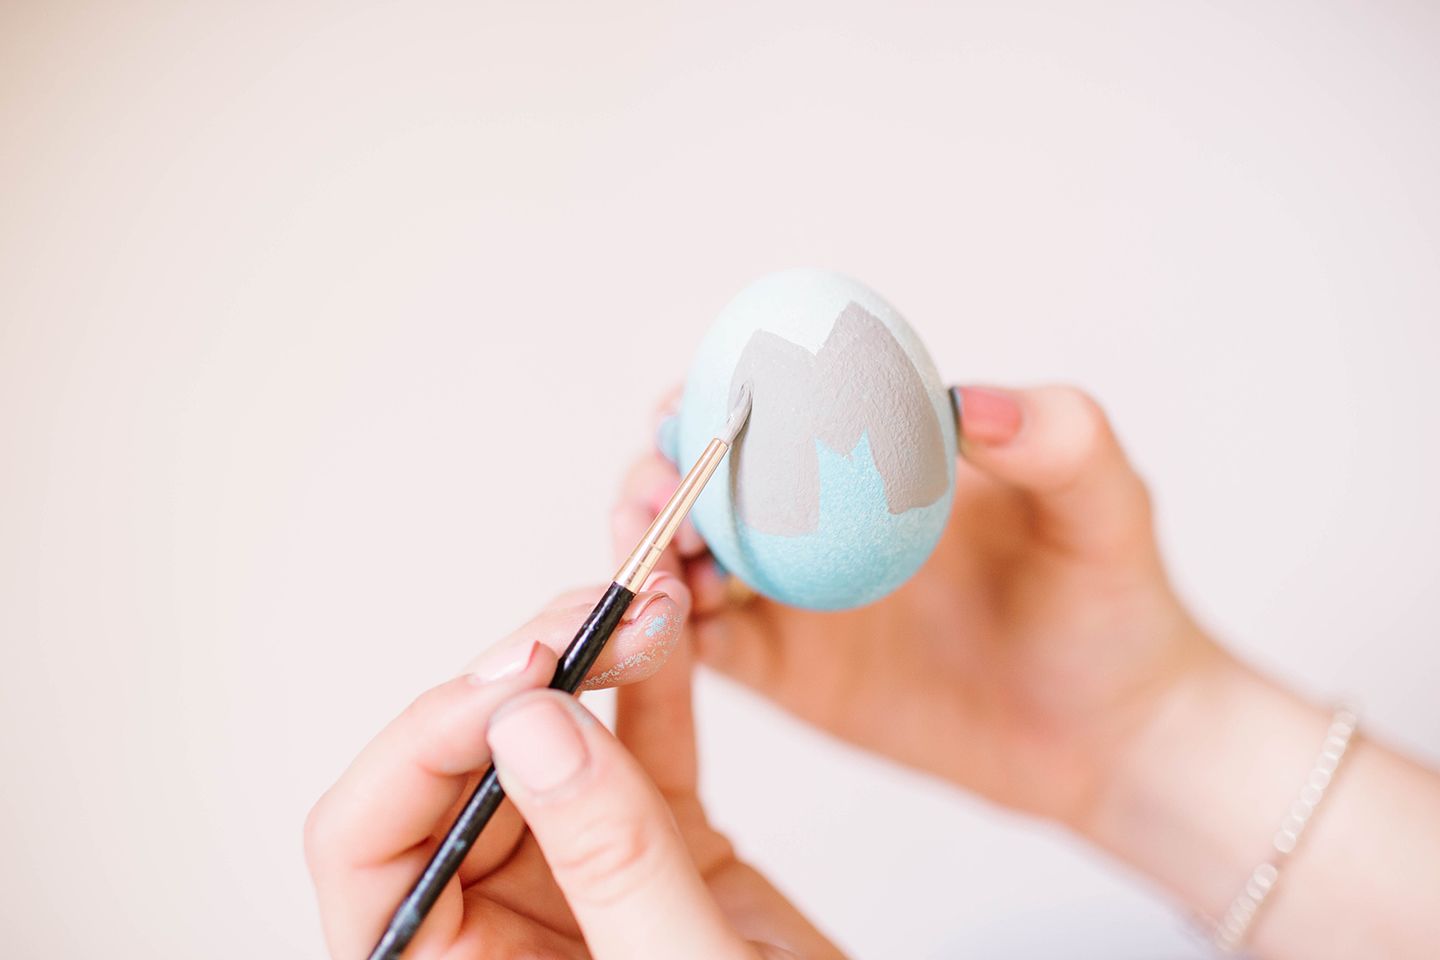
For the balloon letters:
- Using a medium-small brush with a squared-off tip, paint each of the balloon letters on your eggs using the silver/grey paint to spell “I AM BUSY.”
- Once the letters have dried, go in with your tiniest detail brush, and add small lines of white around the corners and curves of your letters, to mimic the “shine” and reflection of Mylar balloons.
- Then, if you want to add a little extra glitz to your balloon letters, use a dry paintbrush to dust your loose glitter over the letters. Tip: Do this step just before the letters have dried completely so that the luster dust has something to adhere to.
- That’s it! Display with some natural colored nesting, or another décor of your choice.
What do you guys think? Are you going to try these at home?
We couldn’t resist adding a little GM touch to our Easter holiday, and these “I Am Busy” eggs are going to do just that. We hope you try these this holiday, and if you do, don’t forget to snap a pic and tag us on social media @GrayMalin! Happy crafting…
Xx Team GM