
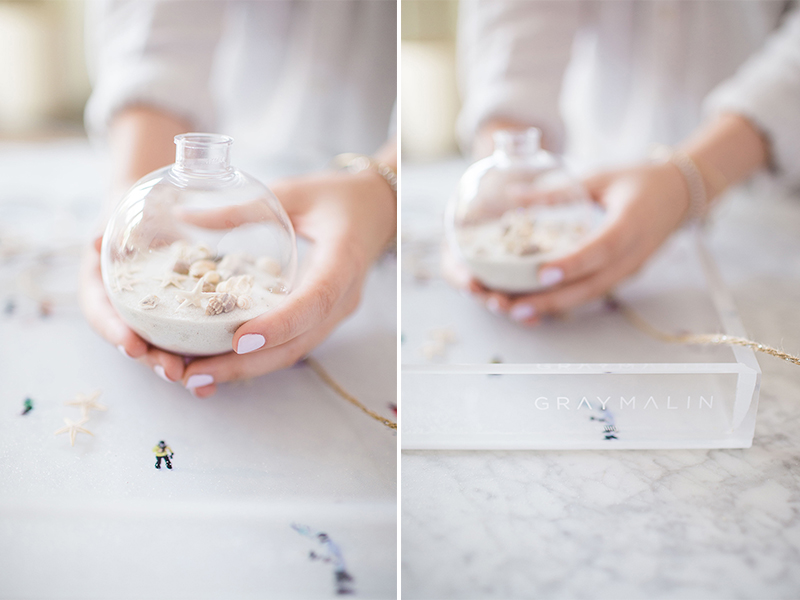
You may be familiar with the concept of “Christmas in July,” but we here at the GM studios tend to dream of the opposite—we can’t resist a little “summer in December” and today’s DIY delivers just that. We’ll start by saying that one of the best kept secrets of Christmas are clear shatterproof ornaments. If you are at all crafty, they are a blank canvas, ready to be created by you! We couldn’t help but take a beachy spin on our ornaments this season (because really, what is more Gray Malin than that?), and we are thrilled with how they turned out. We hope you love them just as much as we do, and will take a stab at recreating them to hang on your tree this season.

Even for those who aren’t “naturally gifted” in the art of DIY, we promise this Christmas craft is easy enough for all (and surprisingly quick). With just a few simple supplies, and some useful tips and tricks, you will be hanging this pretty piece of décor on your tree in no time. Let’s just say they are taking us away to somewhere a bit warmer, and we aren’t complaining one bit. But enough talk, let’s get to the how-to…
Supplies:
- Clear shatterproof ornaments with removable cap
- One bag of sand
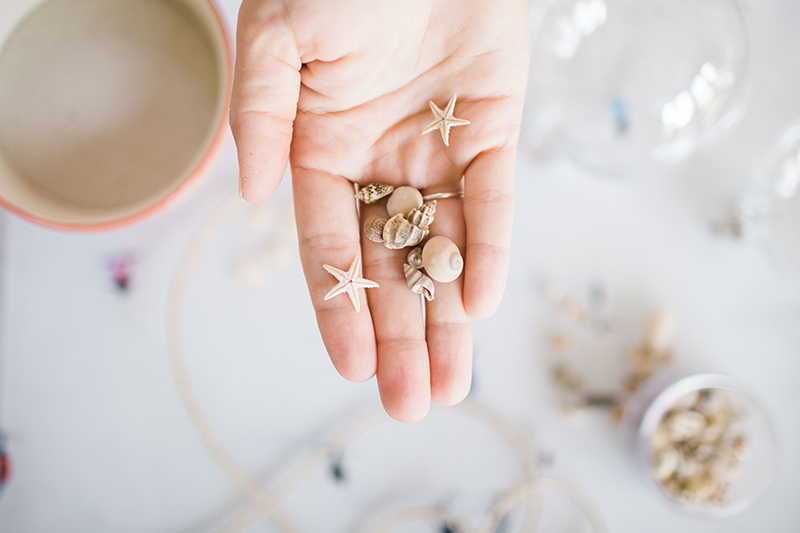
- Tiny shells of your choice
- Miniature starfish
- Twine
- Ornament hooks (optional)
- Paper (or a funnel)
- Glue (optional)

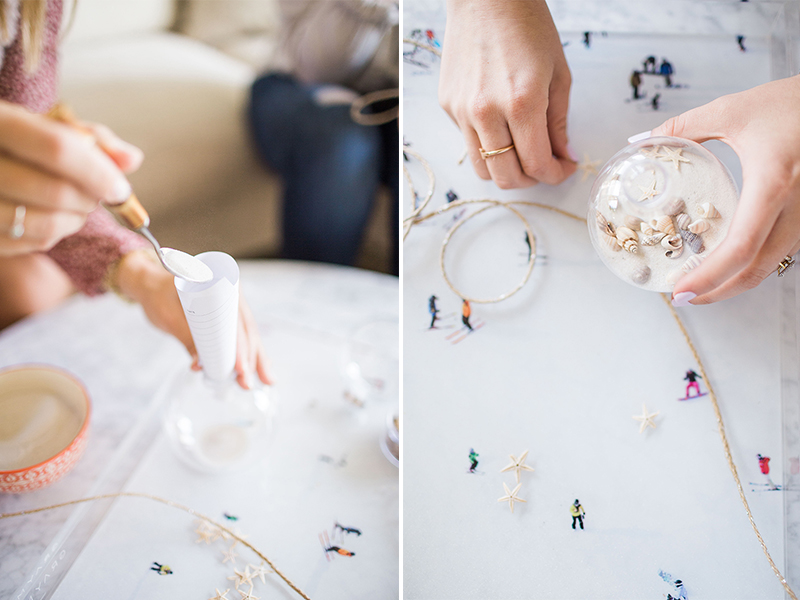
Directions: 1. Begin by creating a simple funnel (or using one of your own). To do this, we cut a piece of paper in half, and rolled it into a cone shape, with a large enough opening to pour the sand in. 2. Remove the cap of your ornament, and place the small end of your funnel into the top. Tip: Make sure you have a tray, plate, or trashcan underneath your work for easy clean up and to catch any grains of sand that might escape.
-
Pour (or spoon) your sand into the ornament. Note: If you overfill your ornament, it will become too heavy to hang on your tree and the cap will not be able to support the contents of your ornament. We recommend only filling about 1/3 of the space (this also makes room for the shells you will be adding). 4. After you’ve added your sand, gently drop in a small bunch of shells so that they lie on top of your sandy “beach.” Be careful not to shake your ornament, as the shells will eventually get buried under the sand!


-
Drop in a few small starfish to top it off, and replace the metal cap. (Option: Before replacing the cap, you may choose to apply a bit of glue around the opening of the ornament to adhere the cap more securely. We didn’t feel the need to, but if your ornaments are large or contain a lot of items, it may add some security to keep your ornament together.)
- Finish off your ornament by tying a bow of twine through the metal loop on top of your cap. We chose to add a simple ornament hook on ours, but if you prefer, the twine makes for the perfect loop to hang on the tree.

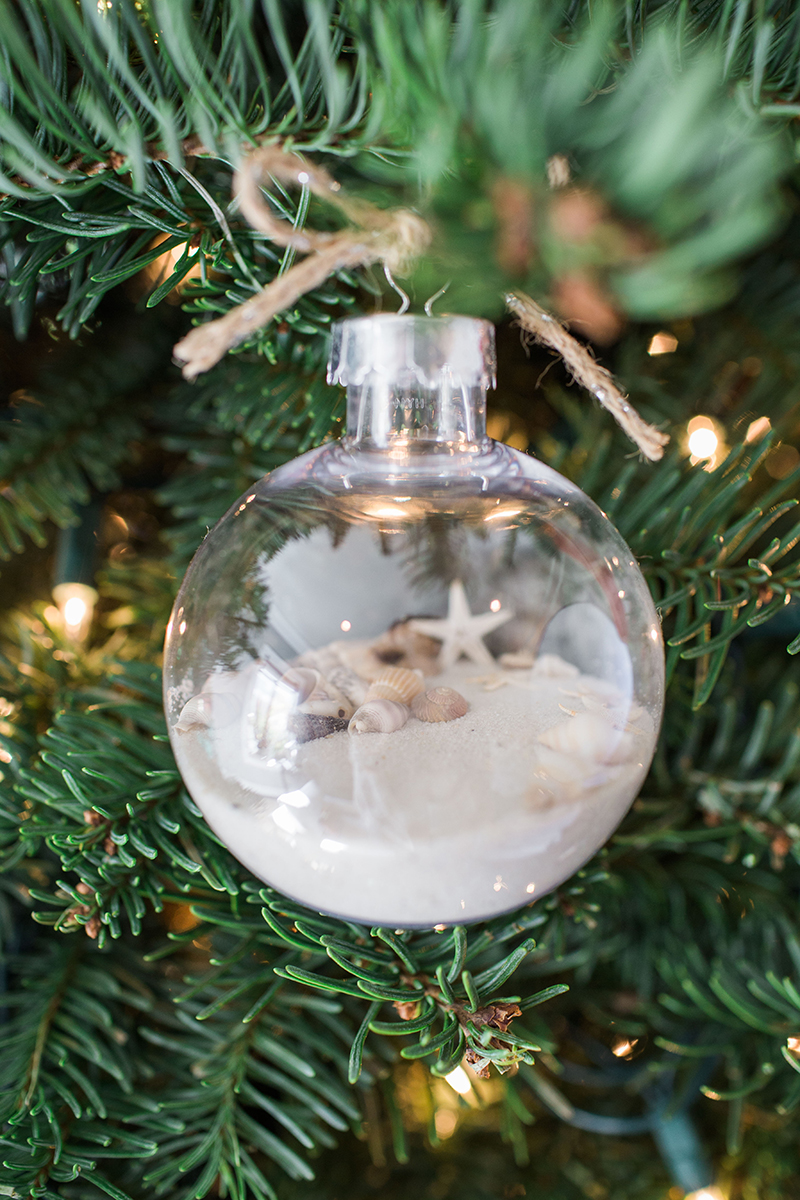
Are you daydreaming about sandy beaches now like we are? We think these homemade ornaments are pretty-as-can-be, and if you hang them in your own home this Christmas, we’d love for you to tag us at @GrayMalin so we can take a peek!
Xx Team GM